Gluten, Corn, Soy and Dairy Free Artisan Bread
By the time you find a wheat, corn, soy and dairy free bread, it's no longer fresh, or with a familiar texture. You'll find great convenience replacements, for more money and less bread, but no more bakery bread.
Solution? Make it yourself, and without kneading!
I've tried the recipe below with a few flour blends. I'm working on a rice flour blend now, but Pamela's produces the best results based on my trial and error with self-made mixtures and store-bought mixtures.
Duration
Prep time: 50 minutes (25 of which you’re just waiting for the oven to heat)
Rise time: 8 - 18 hours (done as little as 3 and still worked)
Bake time: 45 minutes
Ingredients
2 tablespoons active dry yeast (1 for wheat flour)
1 and 3/4 cups lukewarm water
2 tbsp sugar (optional)
1 - 2 tablespoons honey (optional)
1 heaping teaspoon salt
-
Supplies
1 large glass mixing bowl (or using stand mixer with bread hook attachment)
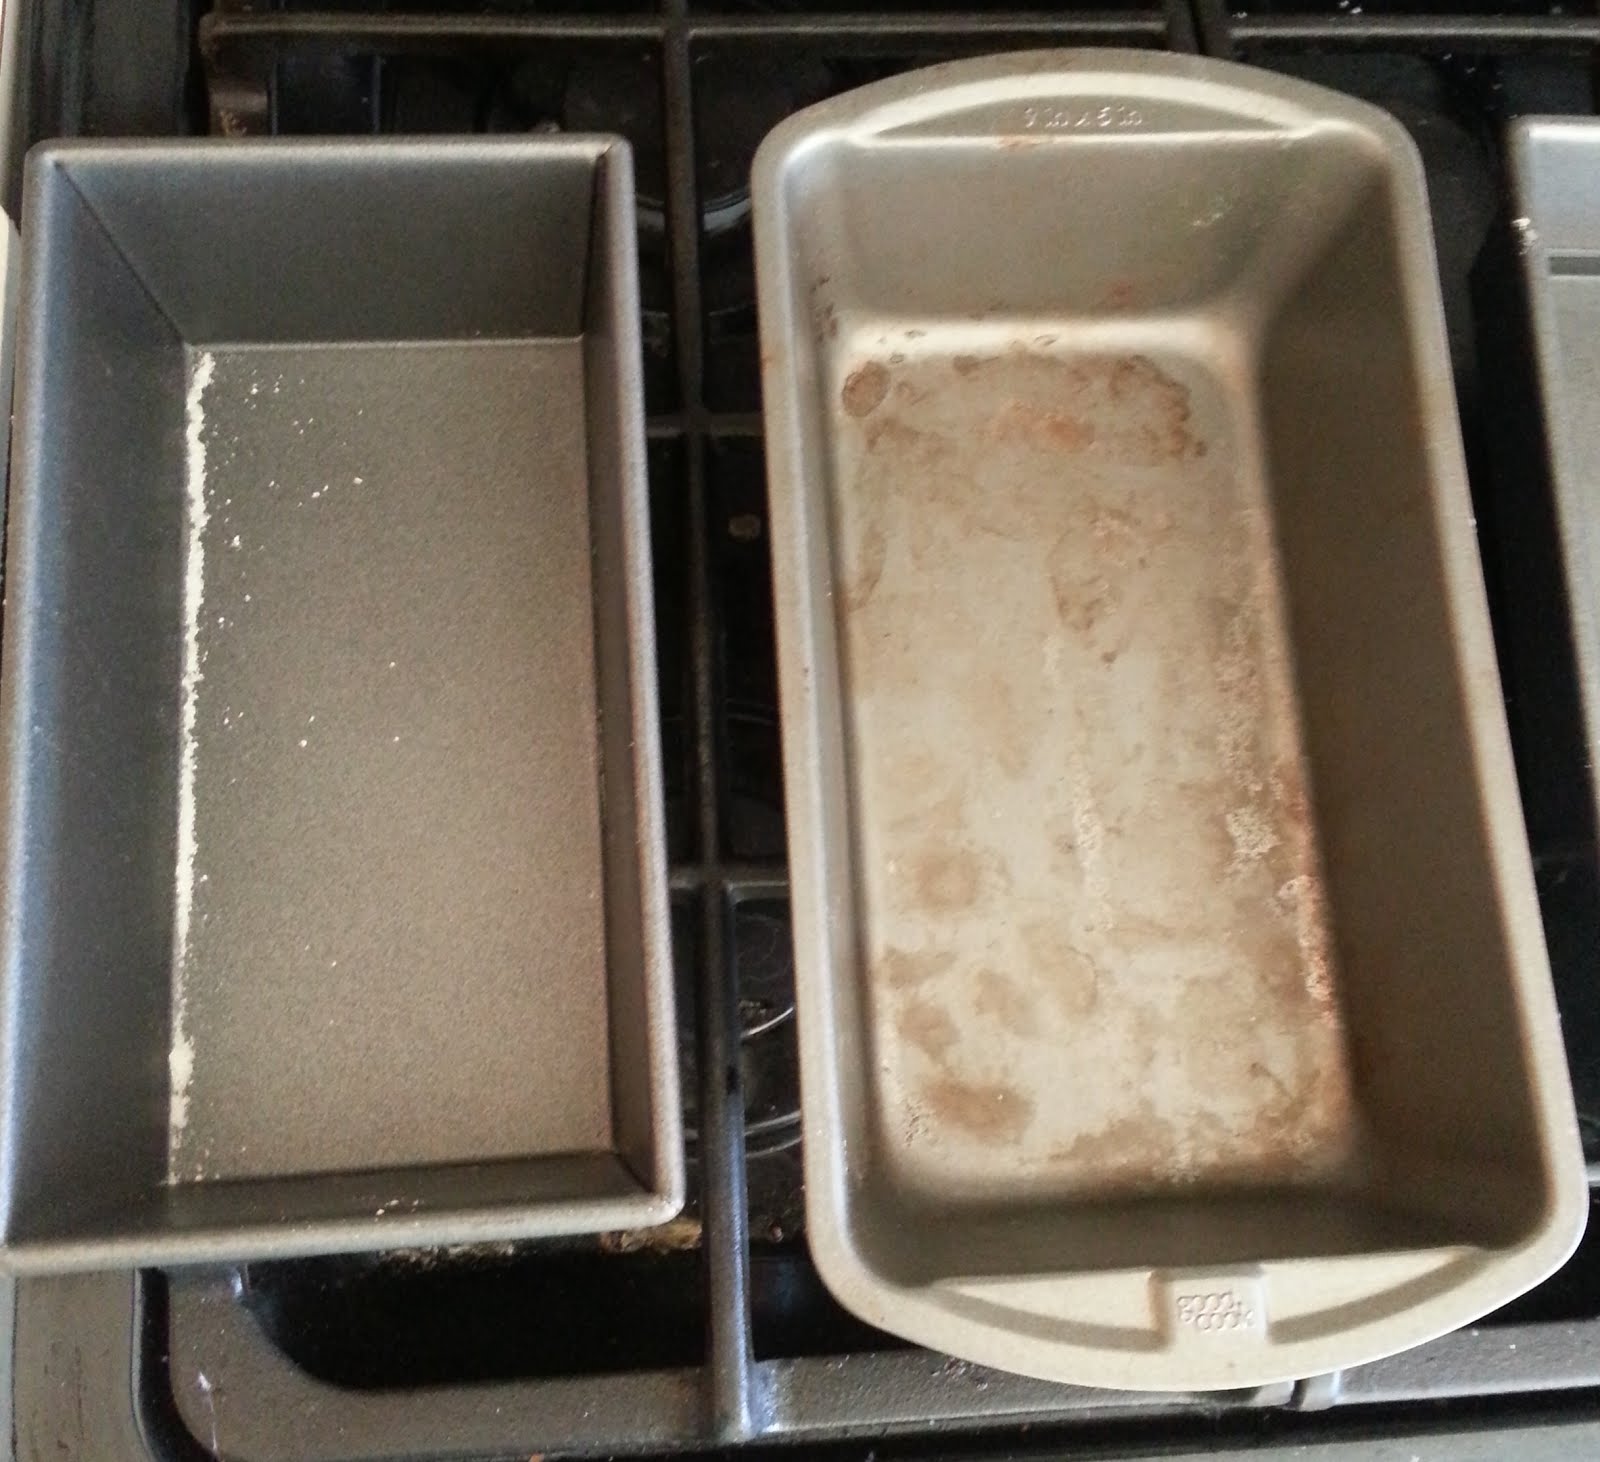
2 approx. 9in x 5in bread pans, one to serve as lid (or round for natural bread shape)
1 oven-safe pan, approx. 2x the size of bread pan
1 wooden spoon
Plastic wrap
Instructions
Place yeast in mixing bowl, and allow to reach room temperature
Add water
Optionally add sugar (I find this helps the WF bread rise better)
Without stirring, let sit for 15 minutes
Mix in honey (optional)
Add flour and salt
Mix or stir using wooden spoon until dough becomes shaggy
Cover bowl, and set aside for 8 - 18 hours, allowing to rise
Adjust oven racks, one low, and one middle.
Post rising: preheat oven to 400°F for slightly softer crust or 450°F for true artisan crust
Place oven safe pan, ¾ full water on lower oven rack
Place bottom of 2 bread pans in oven (without the dough)
Allow oven, with pans, to warm for 30 minutes
While oven warming: Lightly flour surface, and with floured hands, shape dough on flour surface for bread pan, lightly covering exterior of dough
After 30 minutes, place floured dough in bread pan already in oven, and cover with second bread pan or lid
Bake for 30 minutes
Remove cover and bake an additional 15 minutes
Miscellaneous Notes
I don’t have a dutch oven, and after a 10 second scan of a link provided in the original recipe, I came up with my own dutch oven using pans already in my kitchen.
I’m at 6200 feet elevation, so baking time and yeast/water quantities may vary slightly; however, I didn’t modify them from the original recipe to account for altitude
The images below and results are from the first try (i.e. - it’s easy and delicious!)
Original Source
Images

While both bread pans are roughly 9in x 5in, the one with the larger lip made for a perfect lid.
I used the pan below to add moisture to the oven. The amount of water remaining was about ¼ of what what initially added when first placed in oven. Careful not to use too little water and potentially damage pan.

